
Textures
Basic modeler supports three types of textures that you can add to your objects: regular textures/maps, bump maps, and light maps. All are optional, and an object can use any one individually or all of them at once. Texture mapping allows you to create more vibrant models versus using only geometry colors alone.
Adding texture assets to your model
The right sidebar in Basic Modeler has a textures section (the icon that looks like a picture) with an Add Texture button. Clicking on it will allow you to browse your device for the desired texture you wish to import into your model. You can also drag/drop the texture file right into the textures sidebar on supported operating systems.
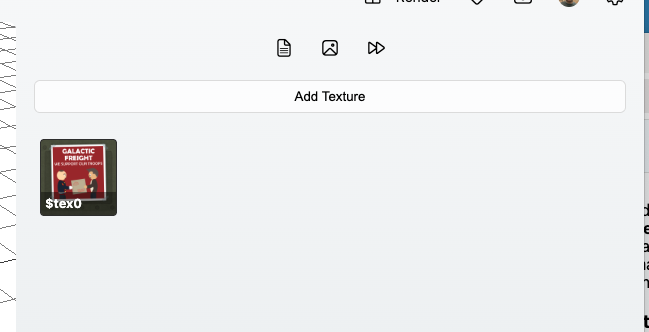
When you import a texture, it will be assigned a variable name (for example, $tex0 in the image above). The variable name is how you will reference your texture in code.
box(1, 1, 1, 0, $tex0);
The above code with the above supplied texture will produce the following:
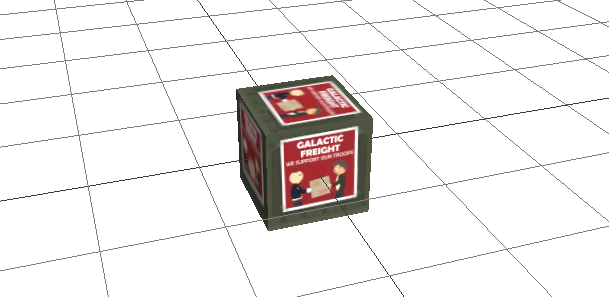
Nearly all geometries contain a texture parameter for applying a texture to your objects, and most are pretty straight forward. You can find parameter information and usage examples in the reference manual.
You can also apply textures after the fact, or to merged geometries, using the texture operation.
Bump Maps
To use bump mapping, you must already have your desired bump map texture imported into your model. Bump maps can be used with either the bumpmap operation (recommended approach) or with the material operation.
A bump map texture is a simple black and white image with lighter areas signifying "higher" areas on the texture, and darker areas signifying "lower" areas. A bump mapped geometry will react to lights in 3d scenes, giving a simple shape the appearance of having more complex geometry.
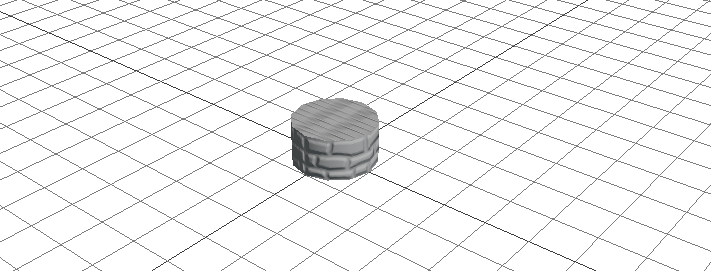
The supplied bumpmap in the example above:

And here is the same shape above without the bump map texture. The bump map is the only difference between the two.
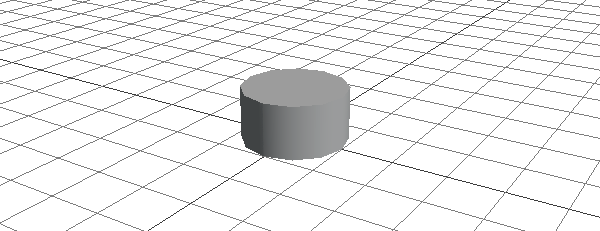
Bump mapping is a great way to add surface depth and character to an object.
Light Maps
Light map usage is very similar to bump maps, and can be used to "light up" parts of an object, great for things like light up computer panels, windows on buildings, glowing displays, etc. Let's take the same plain cylinder in the image above and apply the following light map to it:

We now have a snazzy cylinder with glowing bands around it!
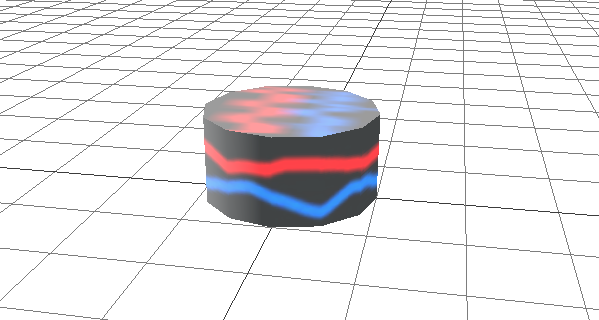
Like bump maps, light maps can be added to a texture using the material operation, but the recommended approach is to use the lightmap operation.